Building a DIY Security Camera Display Using Raspberry Pi, i3 and MPV
In today’s world, setting up a DIY security camera system is more accessible than ever, thanks to affordable hardware like the Raspberry Pi and a variety of open-source tools. Recently, I embarked on a project to create a custom security camera display system using a Raspberry Pi, i3 window manager, python-cec, and MPV. Here’s a detailed walkthrough of how I brought this project to life.
The Concept
The idea was to have a bunch of security cameras streaming to a single TV screen. I wanted to display multiple camera feeds simultaneously, allowing them to be arranged side by side or in a grid of four feeds. Moreover, I aimed to control the system seamlessly using a standard TV remote, making it a versatile and user-friendly setup.
The Hardware
- Raspberry Pi: The heart of the system. I used a Raspberry Pi 4 due to its decent processing power and HDMI output, which is perfect for streaming video to a TV.
- HDMI-CEC Compatible TV: Consumer Electronics Control (CEC) allows HDMI devices to communicate with each other, which means I could use the TV remote to control the Pi.
The Software
- MPV: MPV is a versatile media player that supports a wide range of video formats and streams. I used MPV to play the live streams from the security cameras.
- i3 Window Manager: i3 is a tiling window manager that is perfect for arranging multiple video streams on the screen. It allowed me to split the screen into various layouts (side by side, grid) and switch between them using different workspaces.
- Python-CEC: This library enables communication with devices over the HDMI-CEC protocol. With Python-CEC, I could detect button presses from the TV remote and trigger actions like switching workspaces or showing debugging information.
Setting Up the System
1. Installing and Configuring MPV
First, I installed MPV on the Raspberry Pi. MPV’s ability to handle network streams effortlessly made it the perfect choice for displaying the camera feeds. Each camera provided a web stream, and MPV could easily handle these URLs:
sudo apt-get install mpv
2. Setting Up i3 for Layout Management
Next, I installed i3 to manage the window layouts:
sudo apt-get install i3
In the i3 configuration file (~/.config/i3/config), I set up specific workspaces for different camera layouts. For example:
- Workspace 1: Two cameras side by side
The tiling nature of i3 automatically arranged the windows based on the selected workspace.
3. Controlling the System with Python-CEC
To tie everything together, I used Python-CEC to make the system controllable with the TV remote. Python-CEC allows you to capture remote button presses and execute commands on the Pi.
First, I installed the Python-CEC library:
sudo apt-get install cec-utils python3-libcec
Then, I wrote a Python script to map remote buttons to i3 commands, like switching workspaces or displaying debugging information:
import shlex
import time
import subprocess
import socket
import subprocess
import threading
import time
import netifaces
import os
import cec
import concurrent.futures

cameras = []

def start_apps():
    global cameras
    if len(cameras) == 0:
        files = [
            "/home/dz0ny/4.webm",
            "/home/dz0ny/1.mp4",
        ]
        for file in files:
            cmd = f"/usr/bin/mpv {file} --loop"
            yield subprocess.Popen(shlex.split(cmd))

    for camera in cameras:
        camera1 = f"rtsp://admin:admin@{camera}:554"
        cmd = f"/usr/bin/mpv {camera1} --loop"
        yield subprocess.Popen(shlex.split(cmd))

def monitor_cec():
    cec.add_callback(log_cb, cec.EVENT_LOG)

def restart():
    os.system("pkill -9 mpv")

    def start_apps_thread(p):
        p.wait()

    for app in start_apps():
        start_apps_thread = threading.Thread(target=start_apps_thread, args=(app,))
        start_apps_thread.daemon = True
        start_apps_thread.start()

def detect_cameras():
    global cameras
    newCameras = discover_onvif_cameras()
    if len(newCameras) > 0 and newCameras != cameras:
       cameras = newCameras
       restart()

def monitor_onvif():
    global cameras
    while True:
        detect_cameras()
        if len(cameras) > 0:
            time.sleep(300)
        else:
            time.sleep(30)

def log_cb(event, level, time, message):
    if "power status changed from 'on' to 'standby'" in message:
        print("stop mpv")
        os.system("pkill -9 mpv")
    if "power status changed from 'standby' to 'on'" in message:
        print("start mpv")
        restart()
    if "power status changed:" in message:
        print(message)
    if "key released:" in message:
        if "key released: exit" in message:
            detect_cameras()
        elif "channel up" in message:
            os.system('i3-msg [title=".*terminal"] scratchpad show')
            os.system('i3-msg bar mode dock')
        elif "channel down" in message:
            os.system('i3-msg [title=".*terminal"] move scratchpad')
            os.system('i3-msg bar mode hide')
        elif "sub picture" in message:
            restart()
        else:
            print(message)

def discover_onvif_cameras():
    tcamps = []
    print("Discovering ONVIF cameras on the network")
    with concurrent.futures.ThreadPoolExecutor(max_workers=10) as executor:
        results = executor.map(scan_camera, range(2, 255))
        for result in results:
            if result is not None:
                tcamps.append(result)
    print("done")
    return tcamps

def scan_camera(i):
    try:
        wifi0_ip = netifaces.ifaddresses('wlan0')[netifaces.AF_INET][0]['addr']
        ipr = ".".join(wifi0_ip.split(".")[:-1])
    except:
        ipr = "192.168.0"
    ip = f"{ipr}.{i}"
    try:
        with socket.create_connection((ip, 8899), timeout=0.1) as sock:
            print(f"Found camera at IP: {ip}")
            return ip
    except (socket.timeout, ConnectionRefusedError):
        return None

def main():
    global cameras

    cec.init()
    # Start the monitoring thread
    _cec = threading.Thread(target=monitor_cec)
    _cec.daemon = True  # Ensure the thread doesn't block the main program exit
    _cec.start()

    _onvif = threading.Thread(target=monitor_onvif)
    _onvif.daemon = True  # Ensure the thread doesn't block the main program exit
    _onvif.start()

    # Keep the main program running in the background
    while True:
        time.sleep(60)
        try:
            if len(cameras) >0:
                os.system('i3-msg [title=".*terminal"] move scratchpad')
                os.system('i3-msg bar mode hide')
        except:
            pass

if __name__ == "__main__":
    main()
This script listens for specific button presses on the remote and triggers the corresponding action in i3, allowing you to switch between different camera layouts or display debug information directly on the TV.
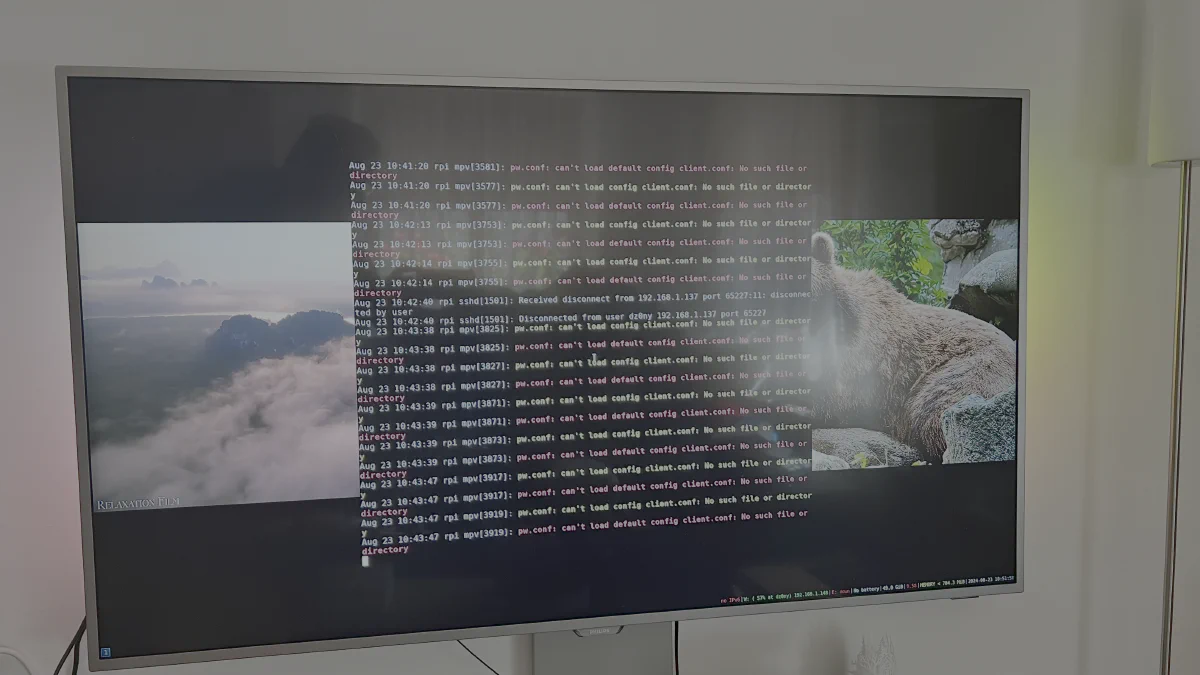
Putting It All Together
With MPV handling the video streams, i3 managing the layouts, and Python-CEC allowing remote control, the system came together beautifully. I can now use the TV remote to switch between different camera views, making the system intuitive and easy to use.